How to create event tickets from scratch?
Assuming you are creating the ticket first time, you can follow the Wizard. But in case you prefer to create from scratch, here are the steps:
Step 1: Log in to the admin panel with your admin account.
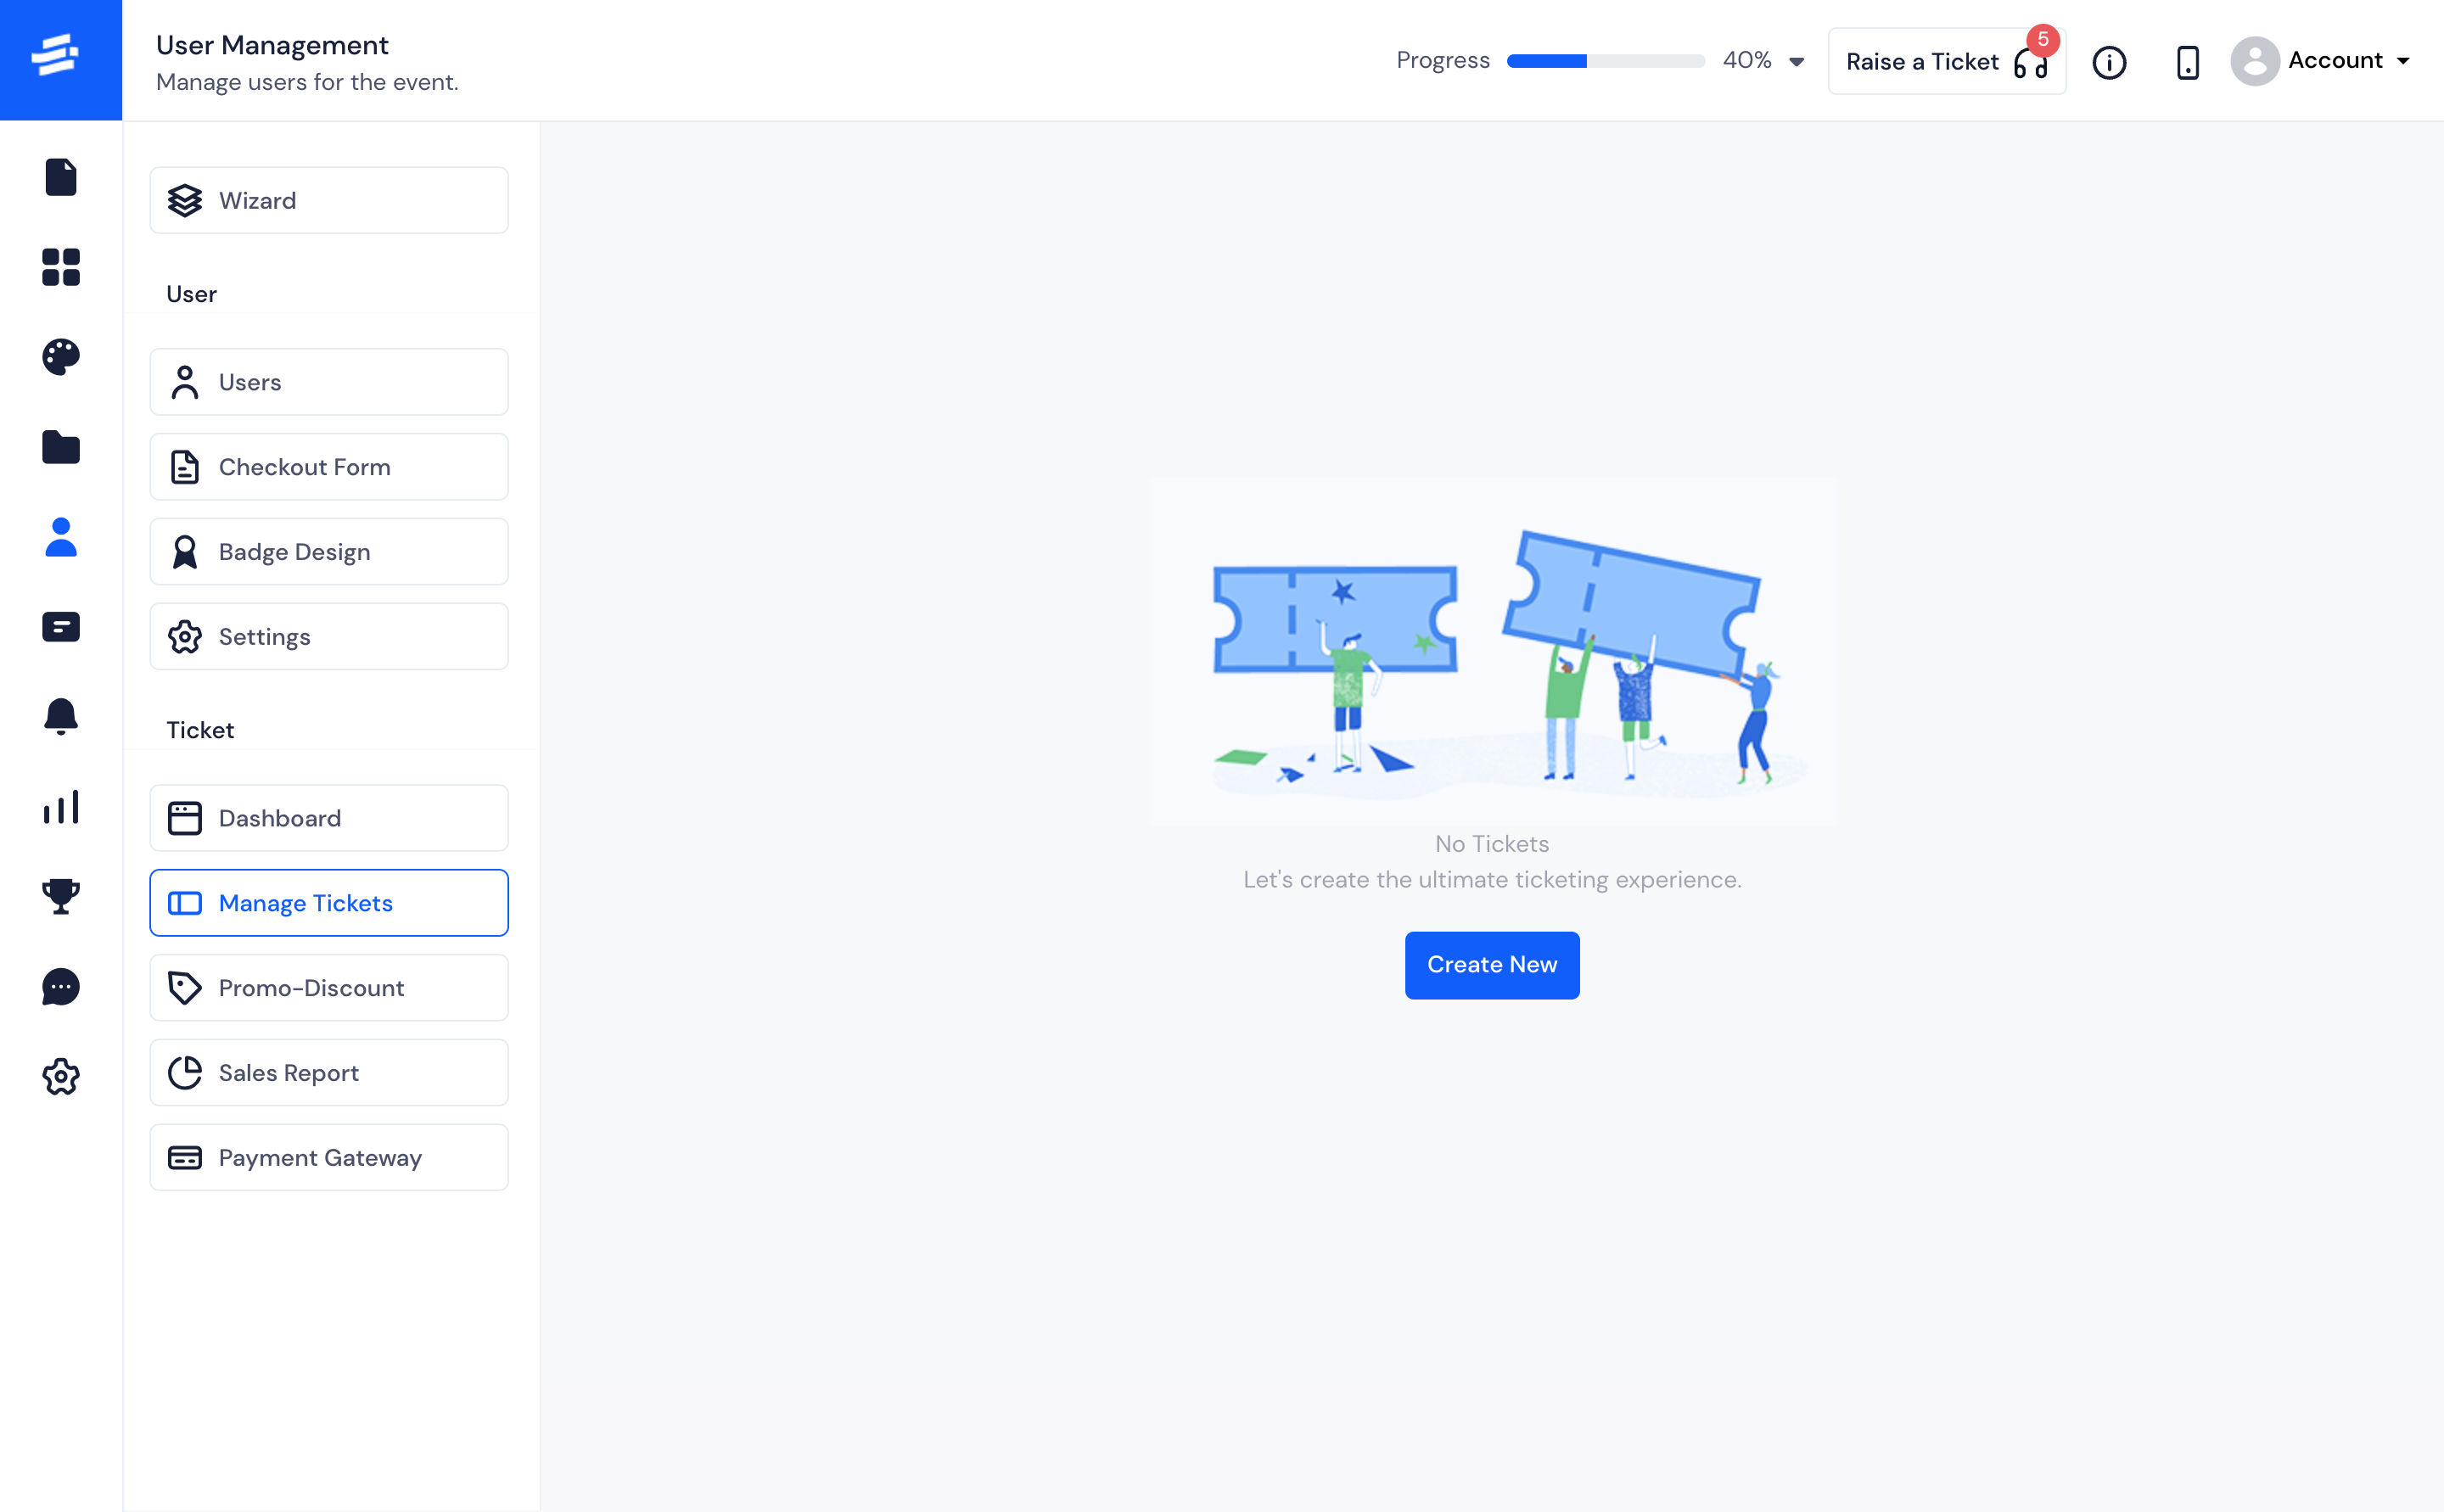
Step 2: Go to the “User management” section from the side menu and then go to Ticket >> Manage Tickets.
Step 3: To begin adding a new ticket, click on Create New

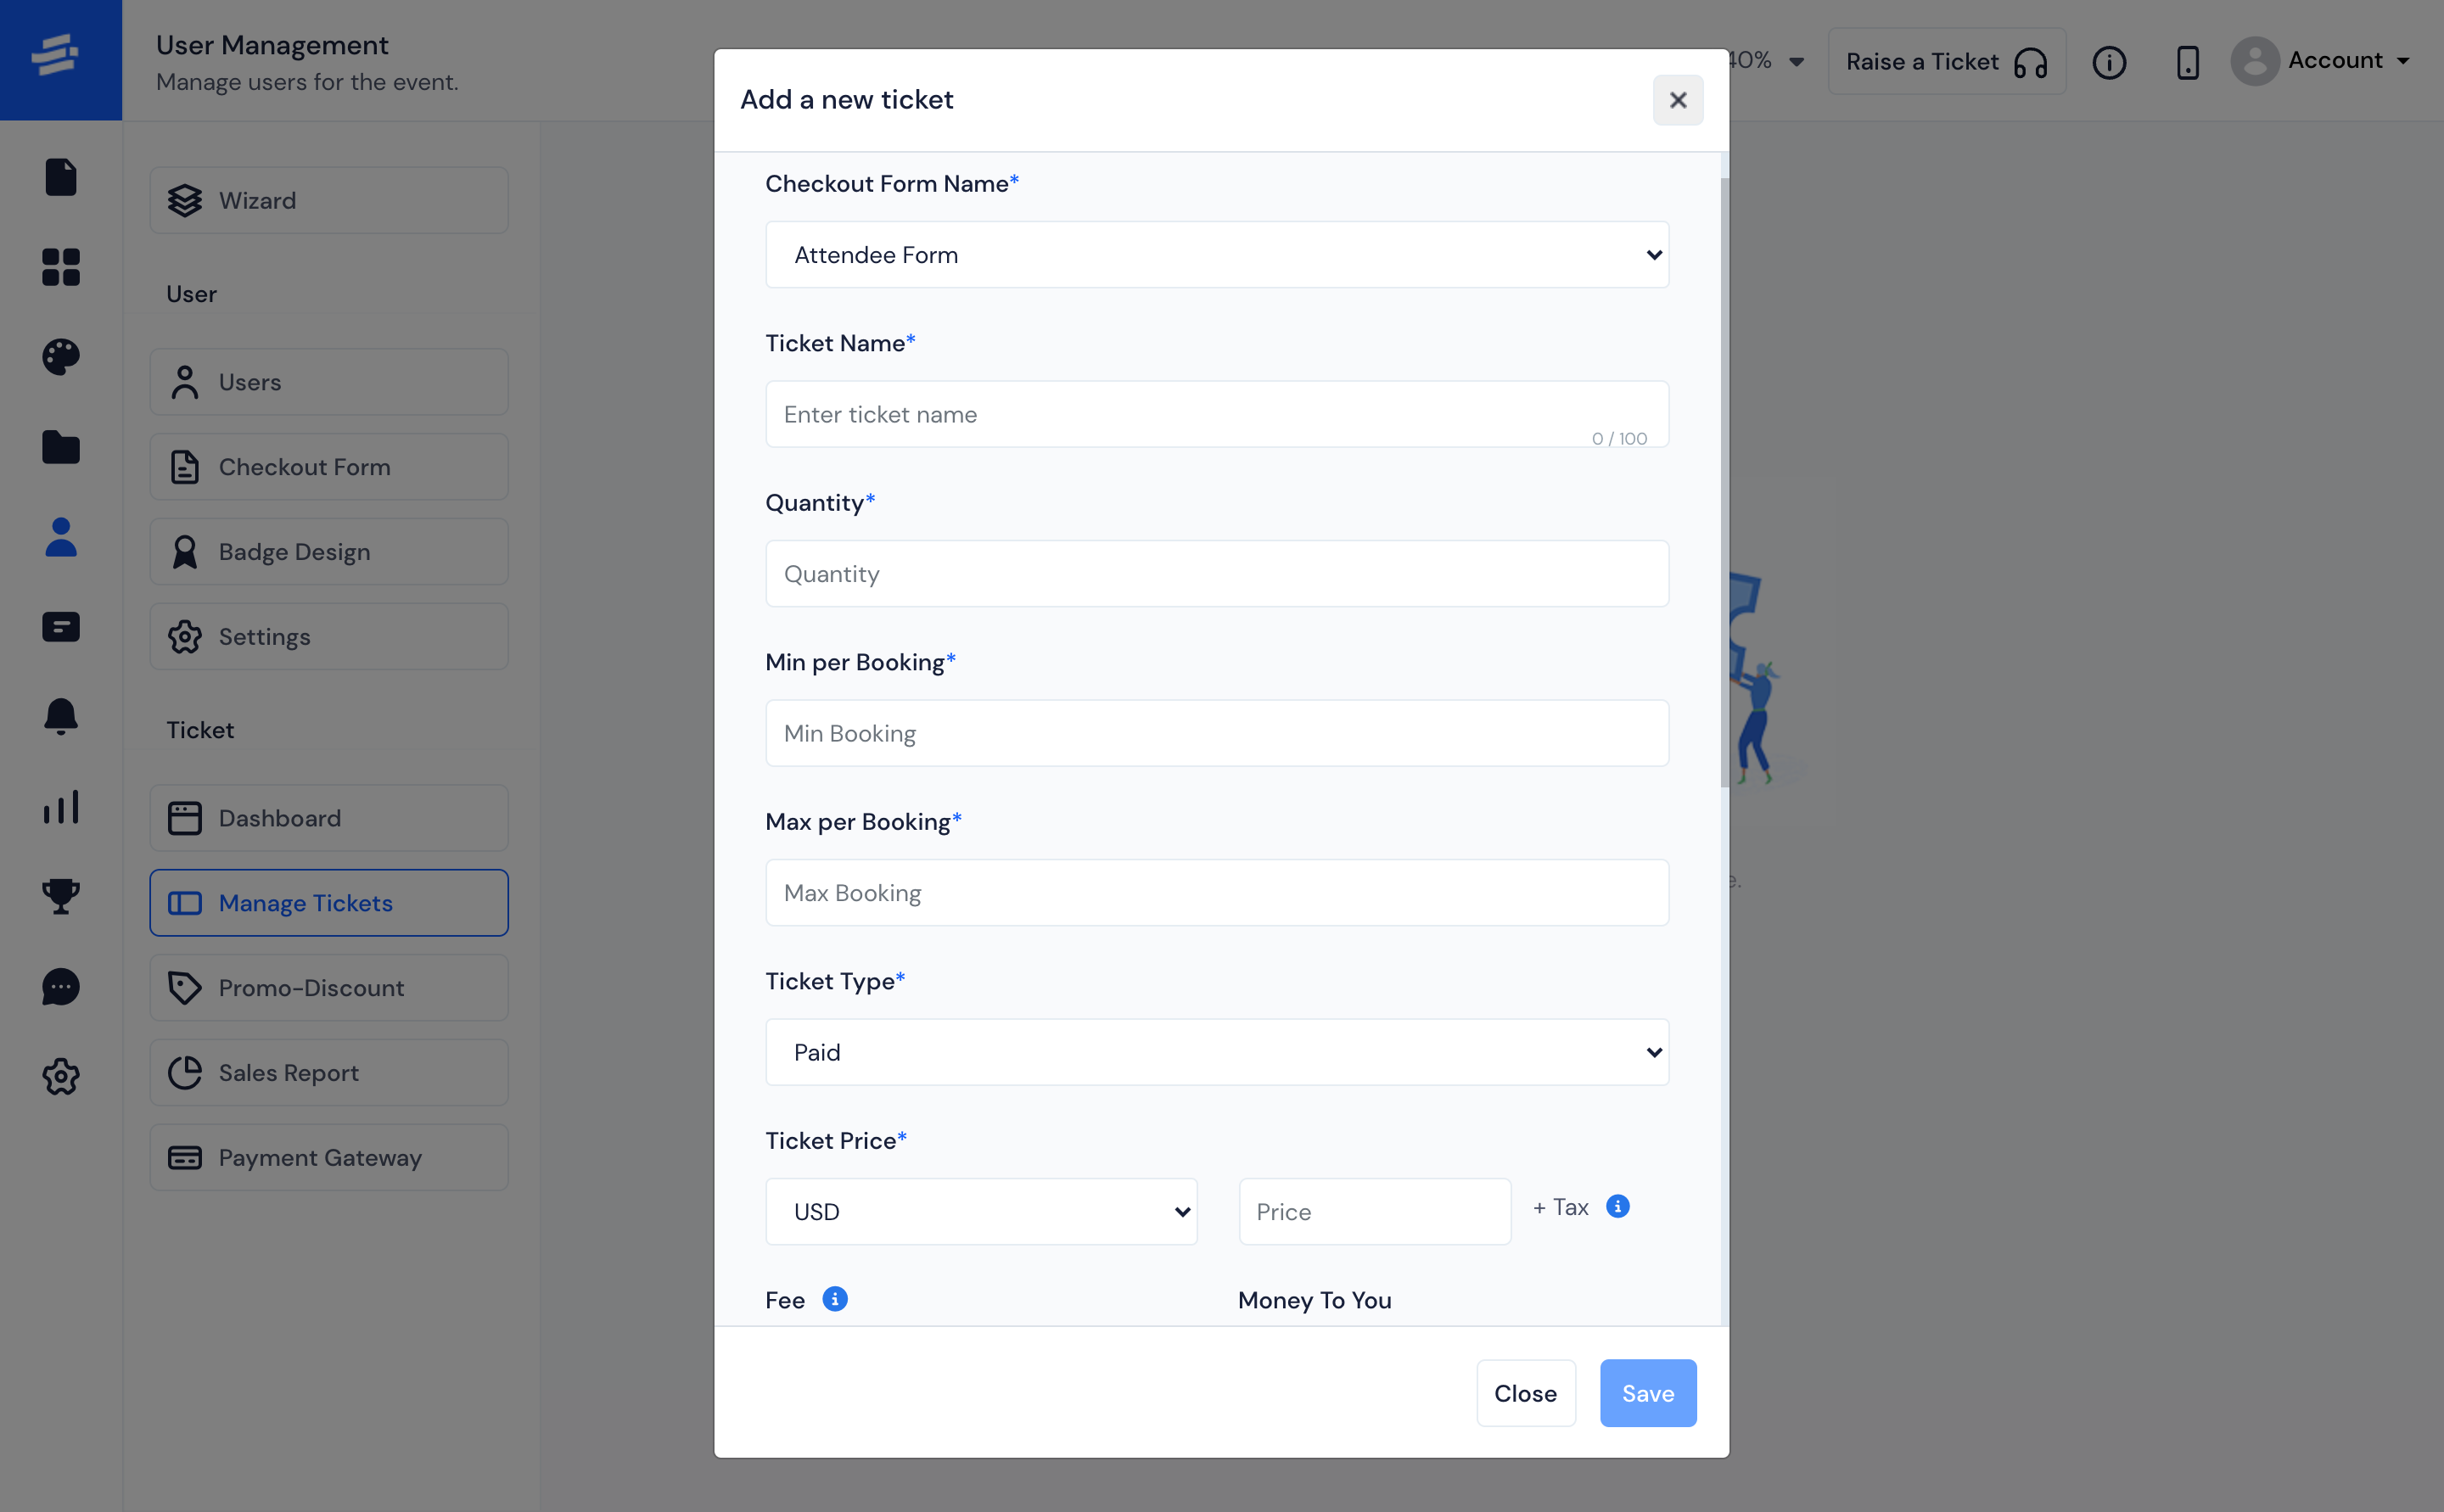
Step 4: You will get the ticket creation form. Here is the basic information to be given in order to create a ticket :

- The first step to add a new ticket is to select the Checkout Form Name. The default checkout form will be selected already, but if you want to assign any other form, select it from the dropdown.
- Enter the ticket name with wich you can identify the tickets.
- Enter the quantity of the tickets that will be available for purchase.
An attendee can purchase a ticket bases on the Minimum and Maximum ticket quantity defined here, Min Per Booking and Max Per Booking.
For example, if the minimum is set at 2, then the purchaser must buy at least two tickets. If the maximum is 5, then the purchaser can’t buy more than 5 quantities of the same ticket.
- You can choose to make the tickets Free or Paid by selecting either Paid or Free type
- For paid tickets, select the currency from the drop-down list and enter the Ticket price. (Now there are 25 popular currencies available. Other currencies can be integrated on request.)
- Fee and Money to you depends on the currency you have selected and whether you choose to Absorb or Pass on the fees.
While setting the paid ticket price, there is an info icon (i) that will show the full breakdown of the price.#
Select the Date and Time of your ticket sales in the Ticket Sales Starts From and Ticket Sales End.
Describe the ticket type and category under Ticket Description, so purchasers know what they will get with the ticket.
Mark the Status of the ticket - Enabled, Disabled or Hidden as needed.
Once you are done, click on Save to save the ticket.
